
If you have invoices that are the same amount for the same client and are billed at the same frequency (i.e. weekly, bi-weekly, monthly, or yearly), you can set them up as recurring invoices.
To Create a Recurring Invoice
Create your invoice following the steps here
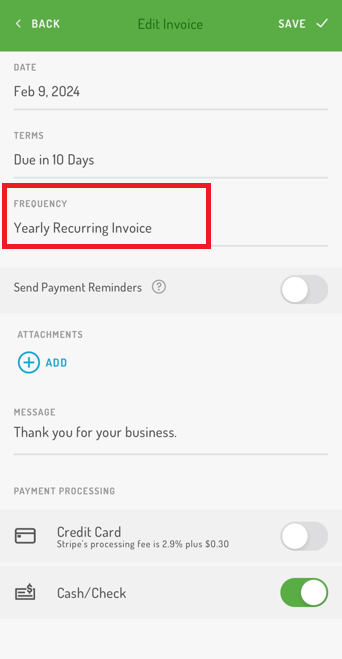
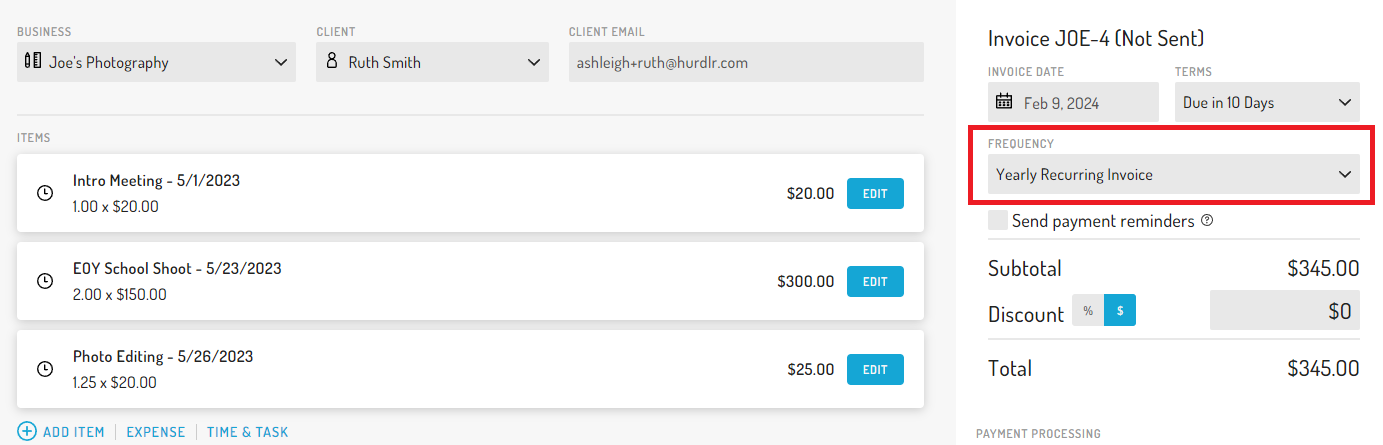
Change the ‘Frequency’ field to:
Weekly Recurring Invoice
Bi-Weekly Recurring Invoice
Monthly Recurring Invoice
Yearly Recurring Invoice
Finish creating your invoice and send it
Moving forward, the invoice will be automatically generated and sent at the frequency you set.
To Edit a Recurring Invoice
On the Mobile App
On the Mobile App
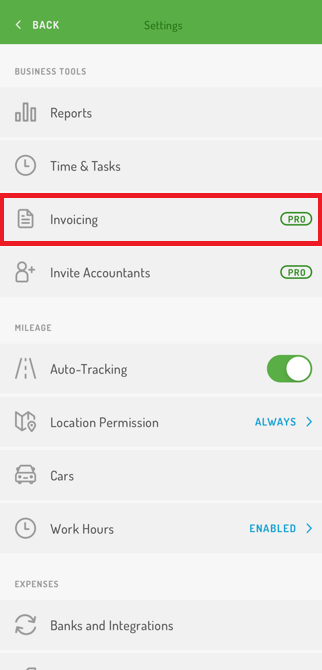
Tap the 3 dots icon in the top left corner
Select ‘Invoicing’
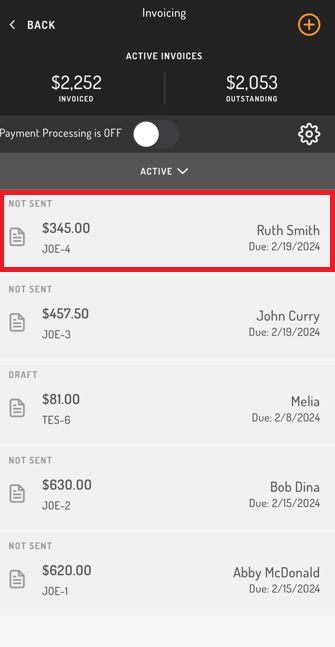
Choose the invoice that you want to edit the recurrence for by finding the most recently sent invoice
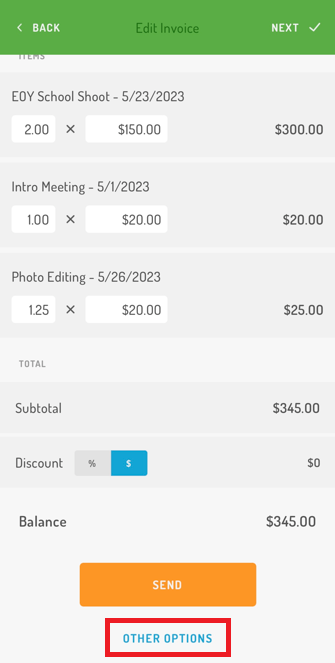
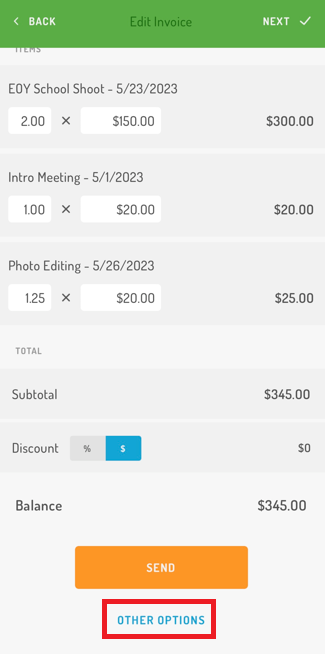
Tap on ‘Other Options’ at the bottom
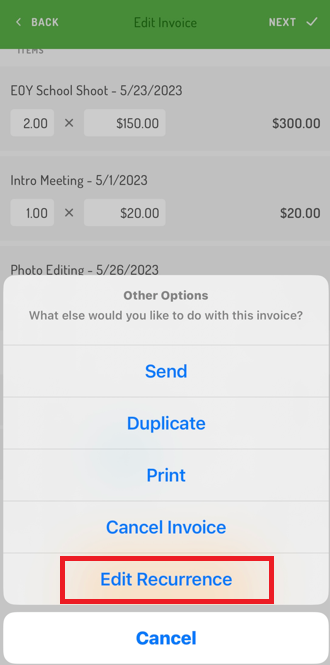
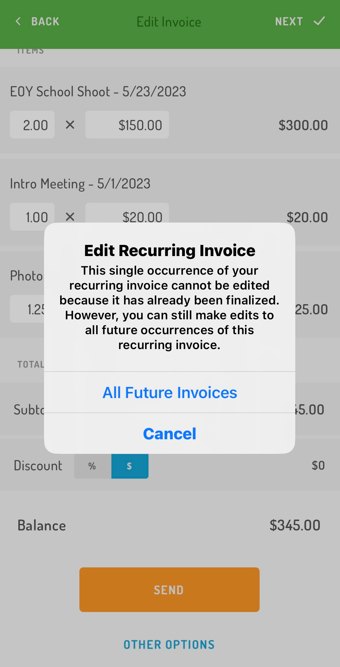
In the pop up, tap on ‘Edit Recurrence’
Tap ‘All Future Invoices’
Make the changes that you want reflected moving forward
Tap ‘Save’
Confirm that you’d like to continue with these changes
On the Web App
On the Web App
Click Invoicing on the left side of the screen
Navigate to the recurring invoice you want to make edits to
Click the blue arrow button to the far right of the invoice
Select ‘Edit Recurrence’
Click ‘All Future Invoices’
Make the changes that you want reflected moving forward
Click ‘Save’
Confirm that you’d like to continue with these changes

To End a Recurring Invoice
On the Mobile App
On the Mobile App
Tap the 3 dots in the top left corner
Select ‘Invoicing’
Choose the invoice you would like to cancel the recurrence for
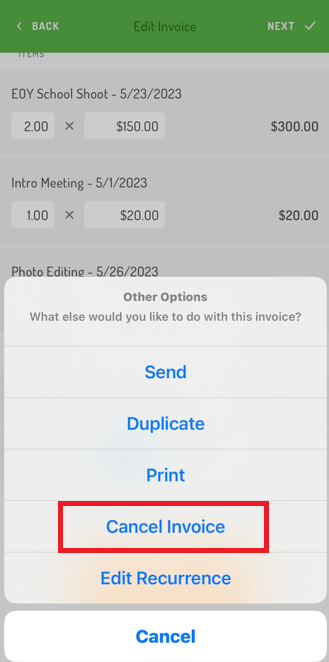
Tap ‘Other Options’
Select ‘Cancel Invoice’
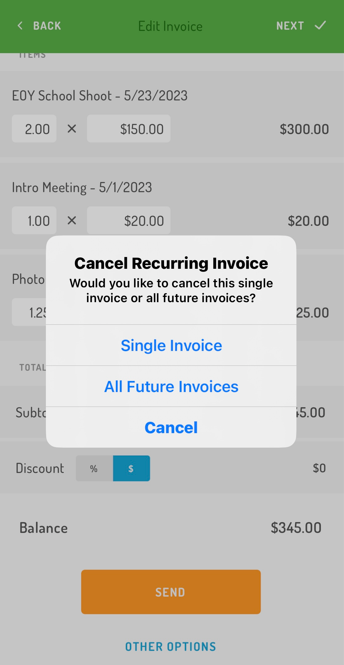
Confirm if you’d like to cancel the single invoice or all future invoices
On the Web App
On the Web App
Navigate to the Invoicing Dashboard (left side of screen)
Locate the invoice you would like to cancel the recurrence for
Click the blue arrow at the right of the invoice
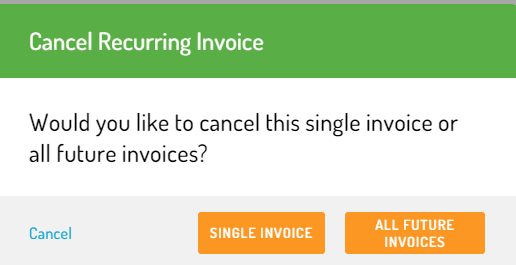
Select ‘Cancel’ from the drop down
Confirm if you’d like to cancel the single invoice or all future invoices

The steps above outline how you'll typically stop a recurring invoice, but the steps can vary slightly depending on the scenario.
If the invoice was sent, but not yet paid: Hover over the drop-down menu to the right of the invoice and select ‘Edit Recurrence’. Click ‘Yes’ to confirm that this will edit future invoices, then change the Frequency back to one-time and re-save the invoice.
If the invoice was sent and paid: It isn’t possible to directly edit the recurrences of an invoice that has been marked as paid. To end a recurring invoice that was marked as paid, first remove the payment, then go to your Active Invoice section. Click on the invoice, then choose ‘Edit Recurrence’ and change the Frequency to one-time, then resave the invoice. You can then add the payment back to the invoice.
If a recurring invoice is scheduled or sent, but not yet paid and needs to be canceled: When you cancel a recurring invoice, you can choose to cancel just the current invoice, or All Future Invoices. Choose All Future Invoices to cancel the current invoice as well as future recurrences. Choose Single Invoice to cancel the current invoice, but not future recurrences.
If you choose to cancel a single invoice, but later need to cancel the future recurrences, you can do so when they appear as Scheduled in your Invoices Dashboard (3 days prior to sending). You can click on the Scheduled Invoice and change it to a one-time invoice to prevent future recurrences, then you can cancel/archive the recurrence to avoid sending it to your customer.