
There are times where you may need to reimburse your clients. For example, if you sell a product, but your client returns the product, you have to reimburse your client for their purchase. To keep your records as accurate as possible, Hurdlr allows you to track your ‘income refunds’ as needed. This ensures that your income total reflects your income net of any refunds that you issued to your clients.
For instance, if your client has paid an invoice but later requests a refund, you can process this as an Income Refund to properly offset the original income in your records.
Once tagged as an income refund, the transaction will be displayed in your Income Dashboard (Free & Premium) or Transaction Dash > Money In (Pro) as a negative amount. Income refunds will also be subtracted from the Income total at the top of the Income Dashboard.
Income refunds will either pull in from your linked bank account/credit card or you can enter them manually if you haven’t linked the account they’re associated with.
To Convert an Expense to an Income Refund
Since money you return to your clients is a negative amount, it will pull into Hurdlr as an expense. When this happens, you can convert the expense to an income refund. This will convert the transaction to the Income Dashboard (Free & Premium) or Transactions Dashboard > Money In (Pro) where it will show as a negative amount.
To do this:
Log into the Web App on your computer or tablet
Navigate to the Expenses Dashboard (Free & Premium) or Transactions Dash (Pro)
Click on the expense you want to convert to an income refund
Click ‘Convert to…’
Choose ‘Income Refund’
Click ‘Save Details'
The transaction will be moved to the Income Dashboard (Free & Premium) or Money In Dashboard (Pro)
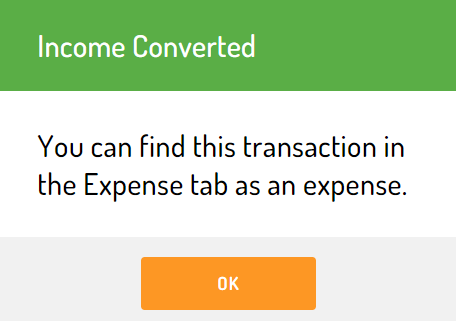
To Revert an Income Refund to an Expense
If you accidentally convert an expense to an income refund, you can revert it back at any time. To do so:
Click on the income transaction in the Income Dashboard (Free & Premium) or Transactions Dashboard (Pro) to expand the details
Select ‘Convert to…’
Choose ‘Expense’
The transaction will be moved back to the Expenses Dashboard (Free & Premium) or Money Out Dashboard (Pro)
To Manually Create an Income Refund
If you haven’t linked the account the income refund is associated with, you can manually create an income refund via the web app. Note that this option is not available in the mobile app.
On the web app, navigate to the Income Dashboard (Free & Premium) or the Transactions Dashboard > Money In Dash (Pro)
Click ‘+ Add Income’
Enter in the necessary income refund details (Source, Amount, Business, Bank Account, etc.)
Click ‘Convert to…’
Select ‘Income Refund’
Click ‘Save Details'
This transaction will now be listed in your Income Dashboard (Premium) or Transaction Dashboard (Pro) as with a ‘Refund’ label
If you create a new expense, you can still convert it to an income refund. This is not possible from the new expense form (i.e. it has to be an already existing expense).
Understanding Income Refunds in Your Reports
Once you have tracked income refunds, this data will be available in your reports. Any income refunds that you’ve tracked will be listed as negative amounts since they lower your income total.